I thought that my bathroom needed some umph. It's 'theme' is black white and gray and luckily is painted a light purple gray (thank you last owners of my house!). Our towels look great but there's something missing. (Will post pictures of bathroom-have some ideas but would love feedback on what to do with the space)
Originally I had this amazing idea about learning how and actually decoupaging all these images of bathrooms, antique sinks and toilets and flowers.....then I read that you can't use images you print from ink jet printers since the ink will run....well there went that idea... Oh yeah, and I don't own any liquid glue!?!?
So onto idea #2-OWLS!
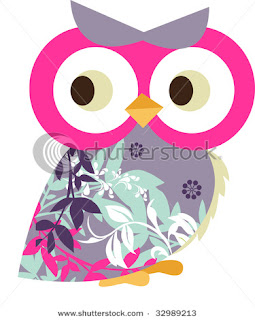
 I really liked this image and wanted to use it somehow. Needless to say I didn't?!?! Oh well. Since I couldn't decoupage my images I thought-hey might as well paint them. The following pictures outline my super easy paint by numbers for a great, and original, piece of art.
STEP ONE: Sketch your idea onto the canvas
(yes you can erase if you make a mistake)
Step Two: Envision colours and start painting.
I started with the cherry tree branches. Then I went back and painted the background Dove Grey (PLAID Folk Art Acrylic paint) I used a slanted brush for the branches and to get the nitty gritty details of gray along the branches. Always do 2 coats of a background colour to throroughly cover the canvas.
Step Three: Details
I always do the boring stuff first. Getting the background nicely covered, making sure the supporting images (cherry tree branches) are well defined. Once I'm done with the grunt/bulk work then I 'reward' myself and work on the detail or focus of the painting.
Step Four: Finish and admire
There's my owl. I think she will make a lovely addition to my bathroom. I think I may paint the other canvas to compliment this one. I wasn't sure when I started if I was going to outline the owl in black sharpie, making it more cartoon-esque. But once I started painting the cherry blossoms (quite abstractly with no distinct shape) I decided against it.
The cherry blossoms are VERY EASY to accomplish. I used a small filbert paint brush (flat but with a rounded top edge) and dipped it heavily into paint. Then I pressed it flatly against the canvas letting the paint squish out in a circle shape. Five of these circle made 1 cherry blossom. I then went back and added darker pink accents and mixed it with the still wet light pink petals. A simple technique with a beautiful finish.


2 comments:
Fun. Also, I LOVE shutterstock. They have the most amazing images!! P.S. Buy mod podge.
This turned out so beautiful! Better than if you had copied the image...WAY TO GO!!
Post a Comment