Showing posts with label decor. Show all posts

Wednesday, September 11, 2013

Altered Canvas Wedding Gift

So I just returned from Saskatoon where I got my craft 
on with my sister, some friends and my Grandma.

But first, a quick trip to PURE for some fro-yo!


After having lunch with my grandparents I put my Granny to work making a scarf for my Christmas Craft Fair! When I told her she had to chain 211 she looked at me like I was crazy!

Jill & I made companion canvases as part of Ashely's wedding gift.  I made the 12x12 one, and Jill made the smaller one.


Close up of the photo.  I mounted it on 2 
different papers and popped it up - real high!


Loved this embossing that I added to the edge of the sheet music and the edge of the canvas.  It really turned out beautifully and really pulled the canvas together!

The top edge of the embossing, some bunting 
and buttons to add the finishing touch! 

I added this chip board heart with the embossed stamp to pull both canvases together and added just a little something extra.

I am really proud of this gift! And I really hope that the bride and groom like it as much as I do!
Dragonfly Designs

Tuesday, August 27, 2013

Such Amazing News

I am feeling SO blessed right now.  And I want to thank all my blog readers for their emails, and comments and encouragement after I posted my mock up craft fair booth.  I submitted my application before I left for Europe on August 10th, and the application was due August 15th.  I checked my email as often as I could to see if I had been accepted....and then my last morning (at the Amsterdam Citizen M hotel-so cool), I got an email.  

I GOT IN!!!!! 

I literally jumped up and down!  I got in to the Crafty Affaire Christmas Market!  There are usually between 20-30 vendors and I will be one of them!!!  So that was pretty awesome news.

Then I check Facebook.  And I found out that I won my booth entry fee!

Well I almost fell over!  Doubly blessed!  Not only did I get into the market but I do not have to pay to be a part of it!  I couldn't be more thankful for both of these blessings and I hope that people will like my creations and will want to take them home and love them as much as I do!

As you can imagine, any free time from here on out will be spent crocheting up a storm.  And researching the best mobile credit card service, and buying yarn, and crocheting, and making tags, and ok so I'm gonna be busy.

If you live around the Lower Mainland of BC you should definitely come check out the craft fair.  It's the Weekend of December 7th & 8th....don't worry, I'll remind you later!


Thursday, August 22, 2013

Adventures in Bunting

And lemme tell ya, it was an adventure...like a 9 hour, all day crafty experiment.  I had been putting off making it because, well, I'm like that sometimes.  I knew I had to make it for my craft booth, and the application was on August 15th, except I was going to be on another continent, so I had to get everything done by August 10th....yada yada yada.

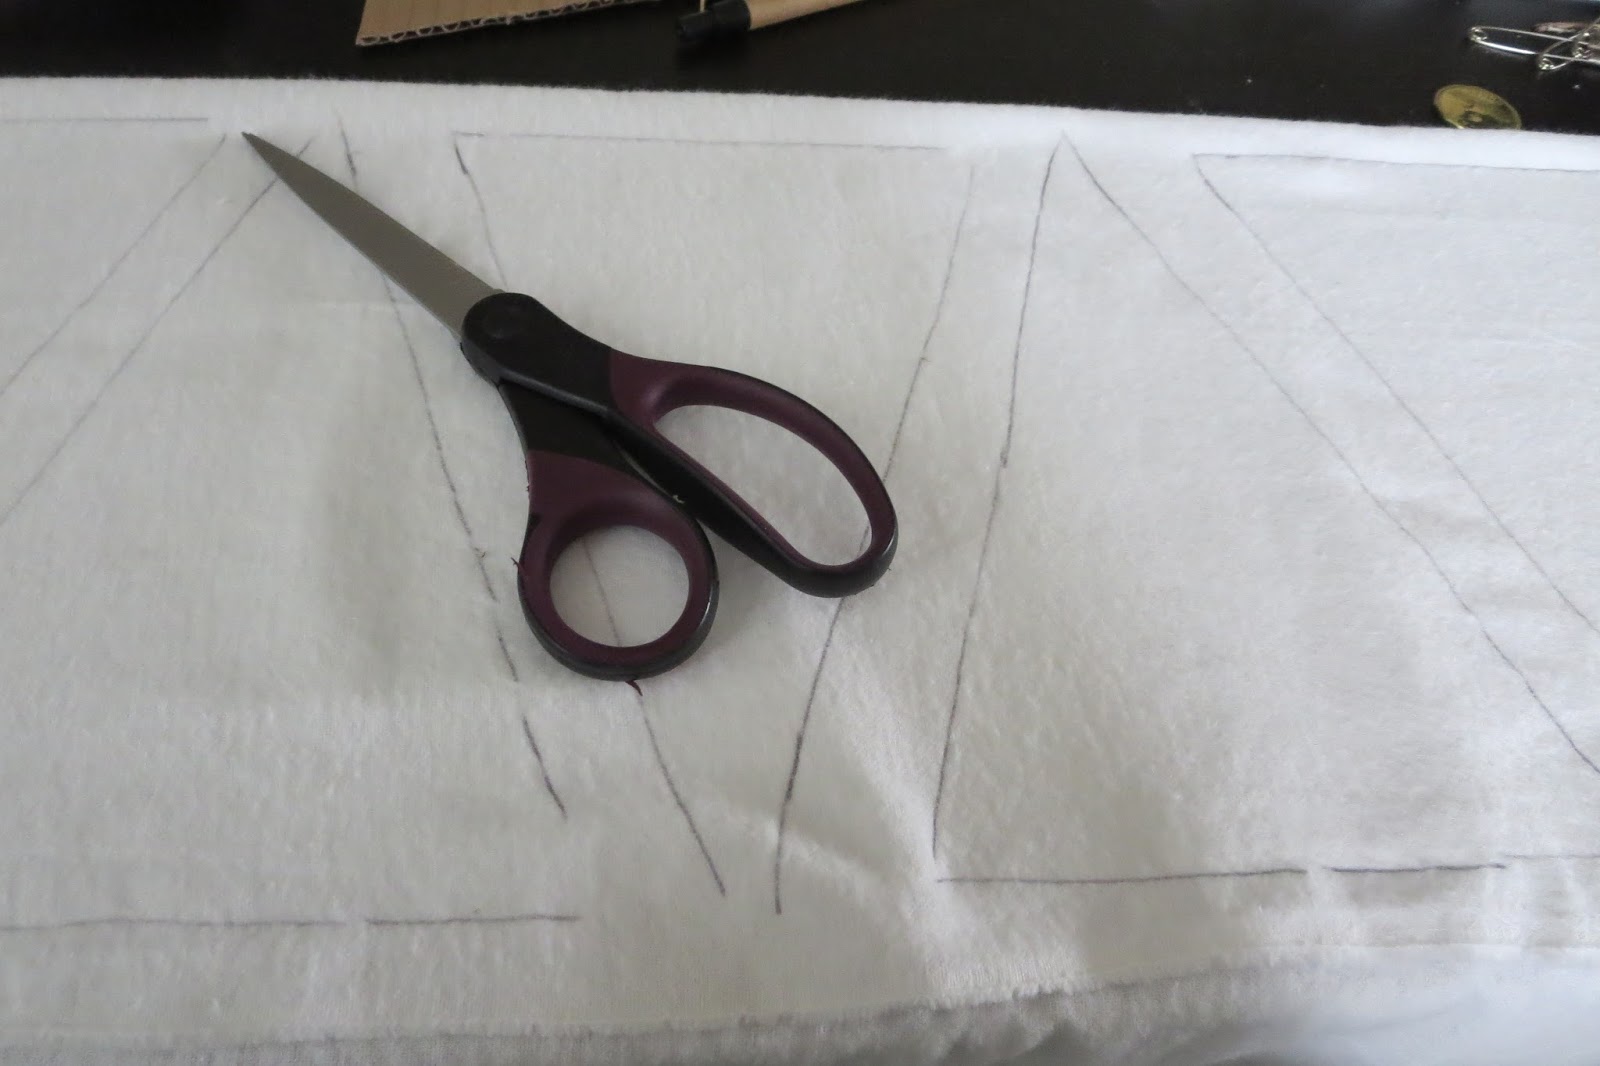
OK!  So first find a piece of cardboard and draw and cut out a triangle shape as your template for the bunting.


Next trace said template a million twenty two times.  Why 22 times?  Because that's how many letters are in "West Coast Leslie Designs"!  Note to other bloggers, pick a short name :)  Now that I think of it, a lot of my fave blogs have long names! 


Then I cut the triangle out but left an edge.  I knew I would either be sewing them or folding and ironing them so I wanted some wiggle room.


I literally cut these out for like hours....ok I was watching a movie too, but how else could I keep my sanity?  Once that was done, I had to iron them into lovely little triangles....  Did I mention I had to purchase an iron for this project...#notagrownupuntilnow


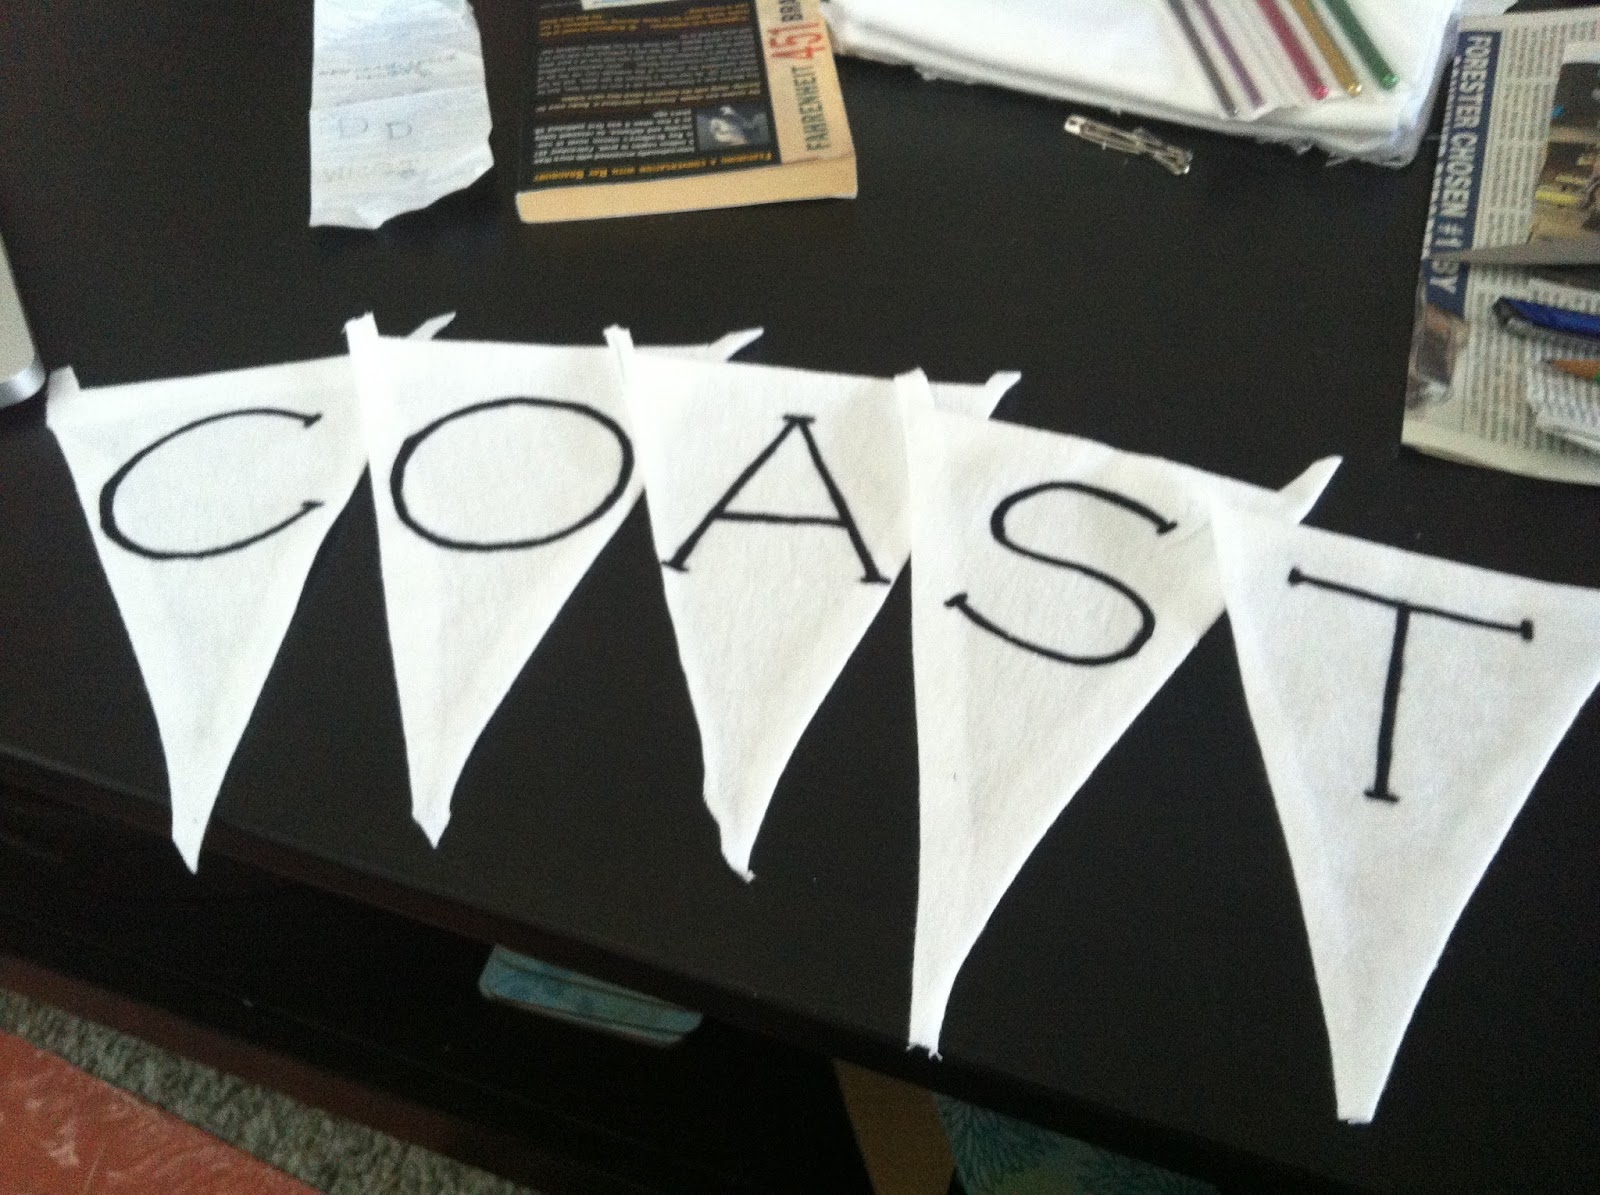
Up next was printing the letters.  Now a lot of carazy people out there would tell you to print the letters and then you could iron them on, or transfer them in some lovely way so they're pretty and lovely and perfect...ha ha ha.  Or you could be me and free hand them.  YES, you heard right, FREEHAND!  I based the font for my bunting on the font I used on my card.  Matchy matchy!


I traced the letters lightly in pencil first, and then went over them in sharpie. And I was able to erase the pencil from the fabric! WOO!

Slowly but surely it comes along


There they all are! Kinda weird seeing my name on a banner.  
Makes me feel kinda famous - just kidding


You'd think I was finished! Nope! Next up was sewing the fabric bunting onto the coral paper I used for my circle garlands on the front of my table.

I used 12 x 12 paper and managed to sew three triangles to a page.


This is, like, the third time this year I've used my sewing machine!  Go me!  Then once they were all sewn, I had to cut them out.  I did think about using plain ole scissors, but how much fun is that?  So I decided to use some craft scissors that have a similar pattern to pinking shears.  Never fear my sewing readers, I know you don't use pinking shears on paper!  Heaven forbid.


It also hides any imperfections.... what imperfections?

Once they were all cut out I sewed them together into banners
TA DA!  I have to say I'm pretty proud of myself.  And I think my banner looks pretty great!  I can't wait to show it off at my first craft fair this fall.  And if I don't get in, I will hang it in my craft room!

Wednesday, July 3, 2013

Altered Canvas

I had actually started this canvas as a birthday gift....but I was too busy to finish it.  Luckily I had a bridal shower coming up and I thought it was the perfect opportunity to finally hunker down and finish it.

First I started with a 12 x 12 canvas and a piece of scrapbooking paper.  I Mod Podge the paper to the canvas.  Once it was dry I sanded away the edges of the paper (read time consuming).  I also sprayed the surface with some grey spray ink to give it an antique look.

Next up I added a page from a book that had fallen apart.  I tried to find the most romantic passages since this was a bridal shower gift.  If I'd had a picture of the couple I would have used it instead!
I tore the edges of the book page, inked the torn edges in brown and then used grey spray ink again to add that vintage touch.

Then it was onto the embellishments, which included a bird, the word "love" some washi tape, some lace, 2 fabric flowers, and paper flowers.  The lace originally was BRIGHT white.  I sprayed the back of the lace with a combination of blue and grey spray ink for just the right hue.


These were both wood laser cuts that I sprayed with spray ink so they would match the canvas theme (I think I have a problem?!?!) 

And here's what the finished product looked like!

I won't lie.  It was definitely a big hit at the bridal shower.  And I may or may not have made another one already.  I'm not sure if I love it as much as this one....if you'd like to see it, check out my Instagram.  I'm on Instagram quite a bit.  It's fast and easier than writing a whole post...especially when the weather is nice.  Be sure to follow me to see what I'm up to this summer.
Dragonfly Designs