
Carving a pumpkin is a super fun and traditional way to enjoy Halloween. For me carving pumpkins is twofold- 1). hopefully my awesome pumpkins will invoke envy among my neighbours and trick or treaters, 2). I LOVE PUMPKIN SEEDS!!!!
So today I will take you step by step to carve a batty pumpkin.
STEP 1 - Purchase
Ensure it sits nice and flat and try to imagine where you will place the image on the pumpkin before buying it! Try to find a pumpkin with some stem, so that you can easily lift and carry your pumpkin.
STEP 2 - Prep Work
Clean/wash your pumpkin if necessary. Just a damp paper towel to take off the dirt will leave you with a beautiful orange pumpkin.

STEP 3 - Tools
YOU DO NOT NEED A FANCY PUMPKIN CARVING SET! I used a sharp paring knife and a sharp chef's knife and a large metal spoon. I highly recommend sharpening your knives before carving. A sharp knife is a safe knife! You'll also need your stencil, a pair of scissors, scotch tape and something to poke with like a mechanical pencil with no lead, or a fine tip pen that is out of ink!
STEP 4 - There's a hole
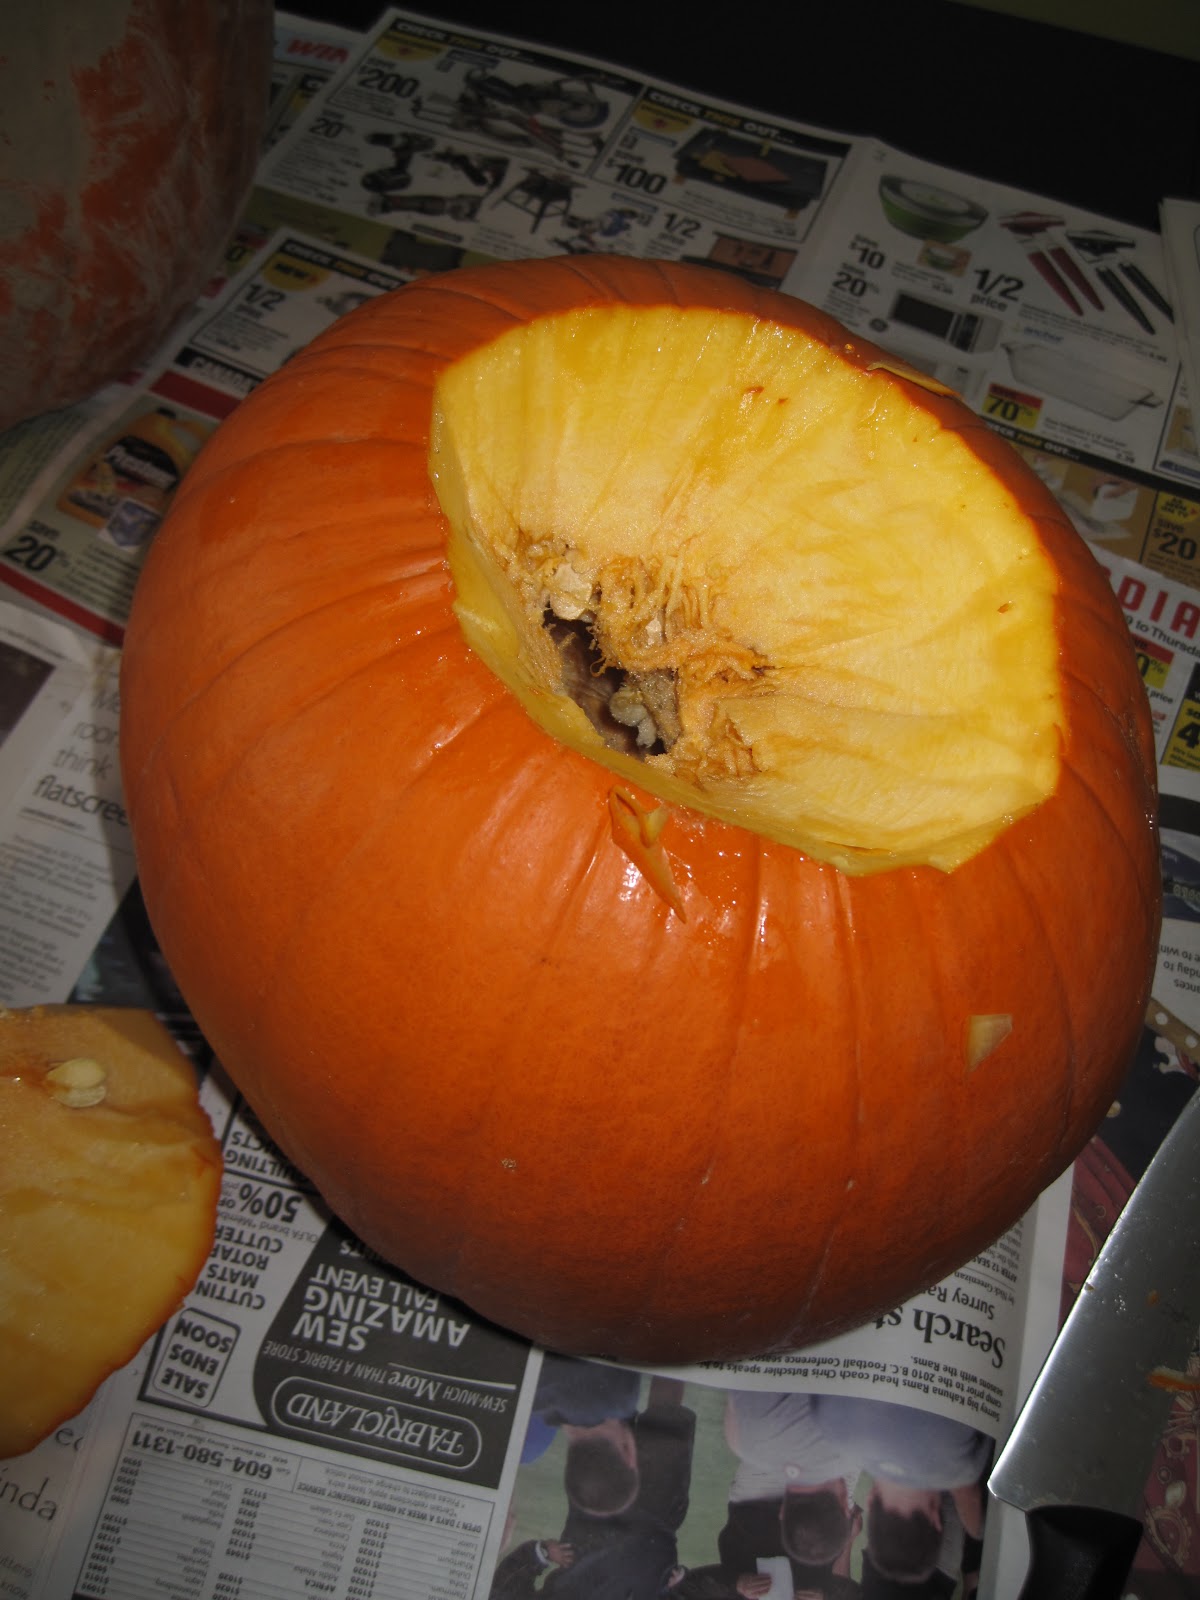 With your Chef's knife, insert the blade into the top of the pumpkin at an angle, about and inch out from the stem. Carefully cut a in a circle around the stem, always at and angle. You may have to go around this cut more than once. Once this cut circle starts to lift, try to pull it up by the stem. Now you have a lid for your pumpkin!
STEP 5 - Clean and gut your pumpkin

It's time to get your hands dirty. Yes you can use a spoon or ladle, but I like to get right in there. I pull up handfuls of pumpkin flesh and separate out the seeds. I place the seeds in a bowl and the flesh on the newspaper. Once I've taken out all the goop, then I go in with a big spoon and scrape the pumpkin's inside to ensure a clean finish! I will also make adjustments to the hole to make it a bit bigger by cutting (not on an angle) away some of the flesh at the top.
 STEP 6 - Pattern Perforation Perfection
(I like alliteration) Now it's time to tape your pattern/stencil to the pumpkin. Before you do, at the corners of the paper cut on an angle from the corner toward the center. This will allow you to curve your pattern so it lays flatter on the round pumpkin. Tape the pattern to the pumpkin where you want to place the image. With your pen or pencil, poke holes along the lines of the pattern. Be sure to make a hole on corners or ends of lines! Poking eliminated black lines on the final product, and creates a guide that allows for a few knife slips here and there :)
STEP 7 - I will cut you
 Not you, the pumpkin. Take the pattern off the pumpkin and you'll end up with something like this. Glasses wearers, you might want to put those bad boys on.....
Now with your paring knife, connect your pokes with cut lines (all the way thru the pumpkin). Start on a small area, like the top of the pattern. You are cutting away the 'background'. The bats will become silhouettes once the rest is cut away. Don't be afraid to be purposeful. This isn't like cutting a radish rosette. use those muscles, and don't worry if you look a little maniacal, stabbing away at the pumpkin! Just close the blinds so your neighbours don't think you're totally unhinged!


As you finish one section at a time, it's time to punch out the negative space that will make the image come alive! Sometimes, depending on the size, you may have to make additional cuts in the pieces you want to push out (its fine!). This will allow you to eliminate smaller pieces and be less likely to break the design. You will feel, as you get to the end of your carving, that the pumpkin becomes less stable, and the image is delicate and could break. Be careful. You can always use toothpicks to prop up any pieces that may have broke!

Finished product. I will post a lit picture for full effect on Halloween!
Stay tuned for Carving 201, which will be a harder stencil. Same process.
LINKING UP TO...


4 comments:
great how-to! We are carving ours tomorrow.
We just finished up pumpkin carving tonight and then I found your post! Have never done stencils--definitely need to try that.
Stopping over from Tatertots and Jello. :)
Looks great Les! One tip I'd add is that sometimes if you have a really thick pumpkin, I'll use my spoon to really scrape the wall I"m carving so it's a bit thinner and easier to carve!
This is a great tutorial!
Post a Comment